

Kenmore basement remodeling
Basement Remodeling & Waterproofing in Kenmore
A Kenmore lower level can be planned as a focused office or an additional living zone, but the best layout is one that fits the existing access and services. Establish which parts of the basement should remain storage or utility space before dividing it into finished rooms. Then identify any damp conditions that could undermine the proposed finishes.
One basement, three futures.

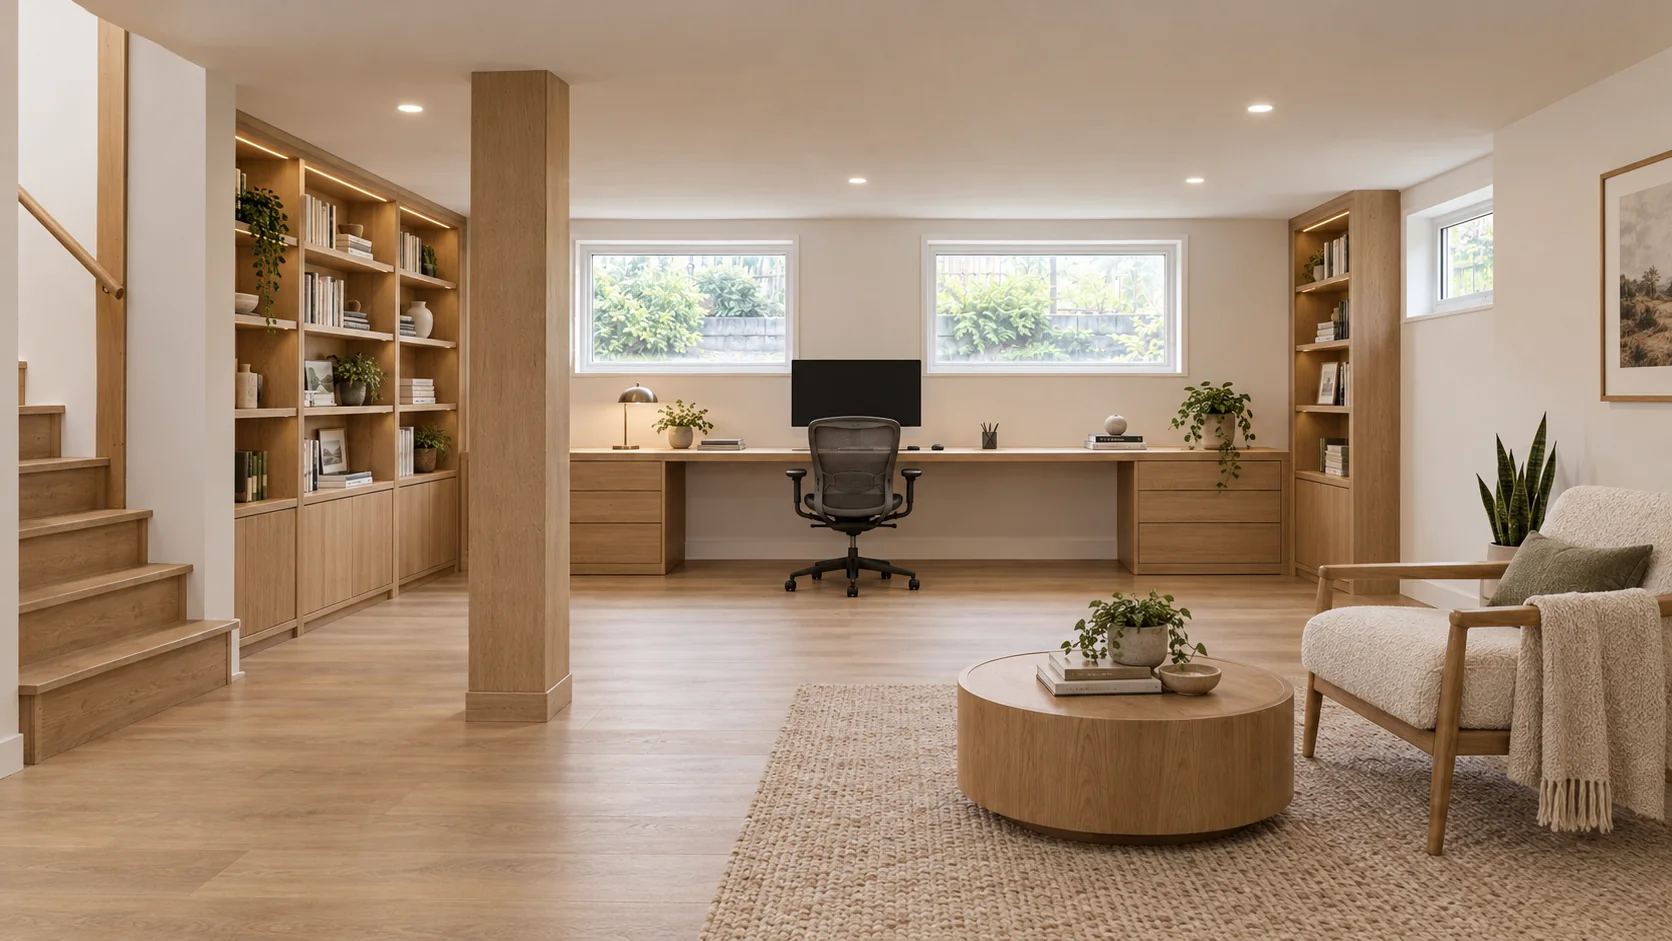
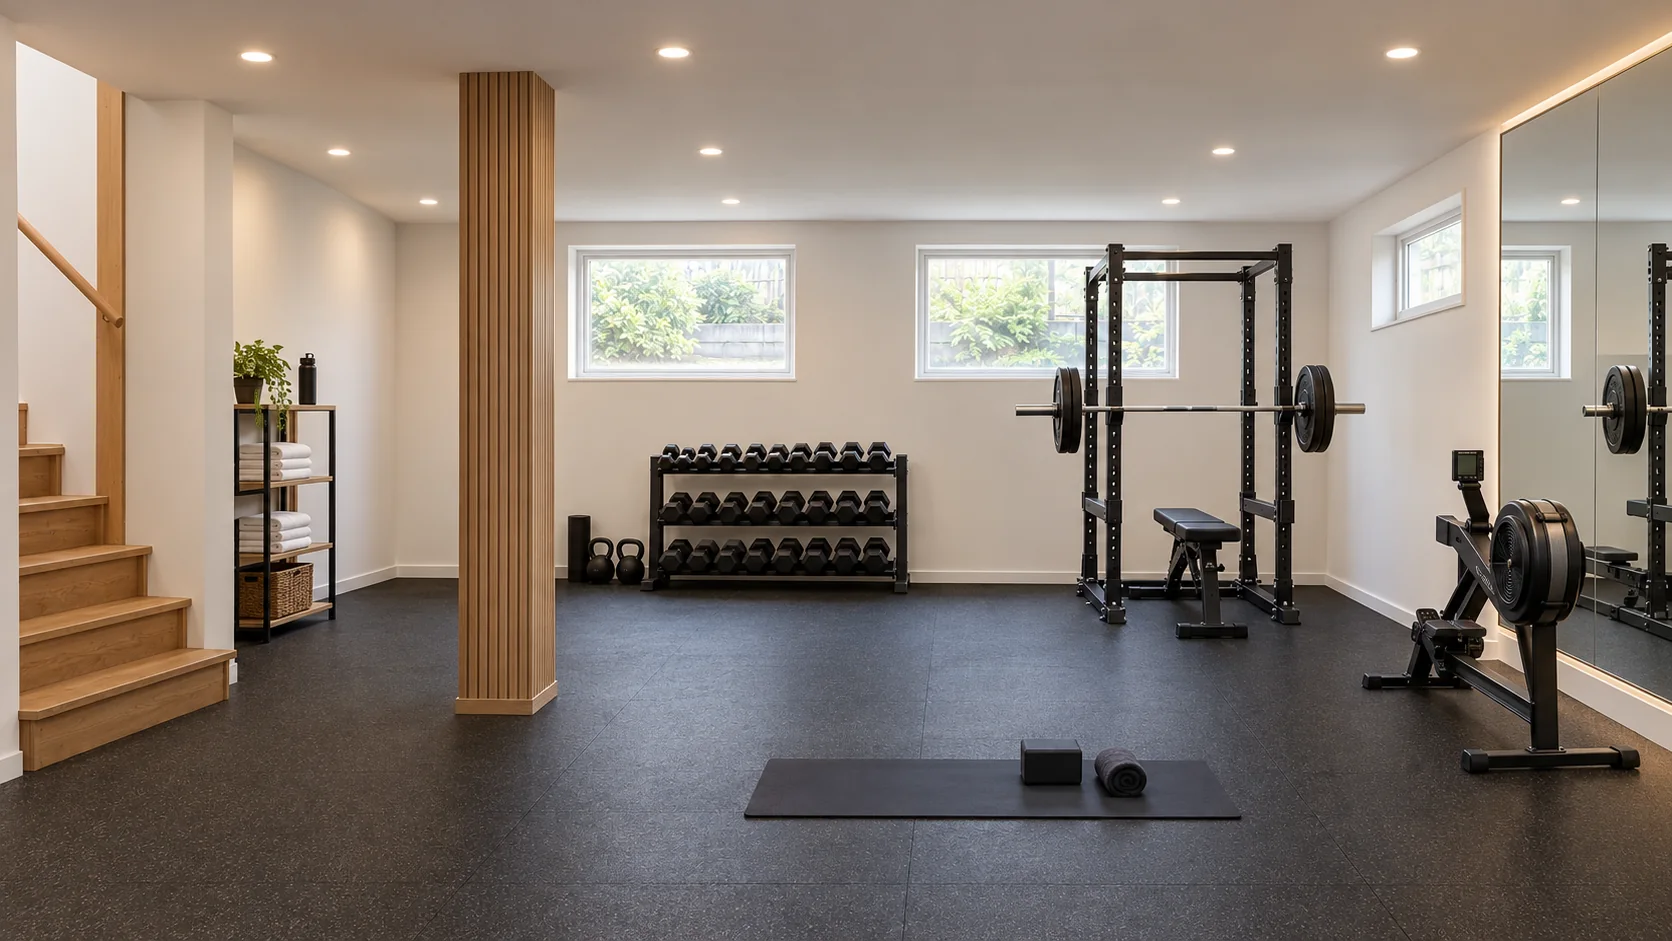
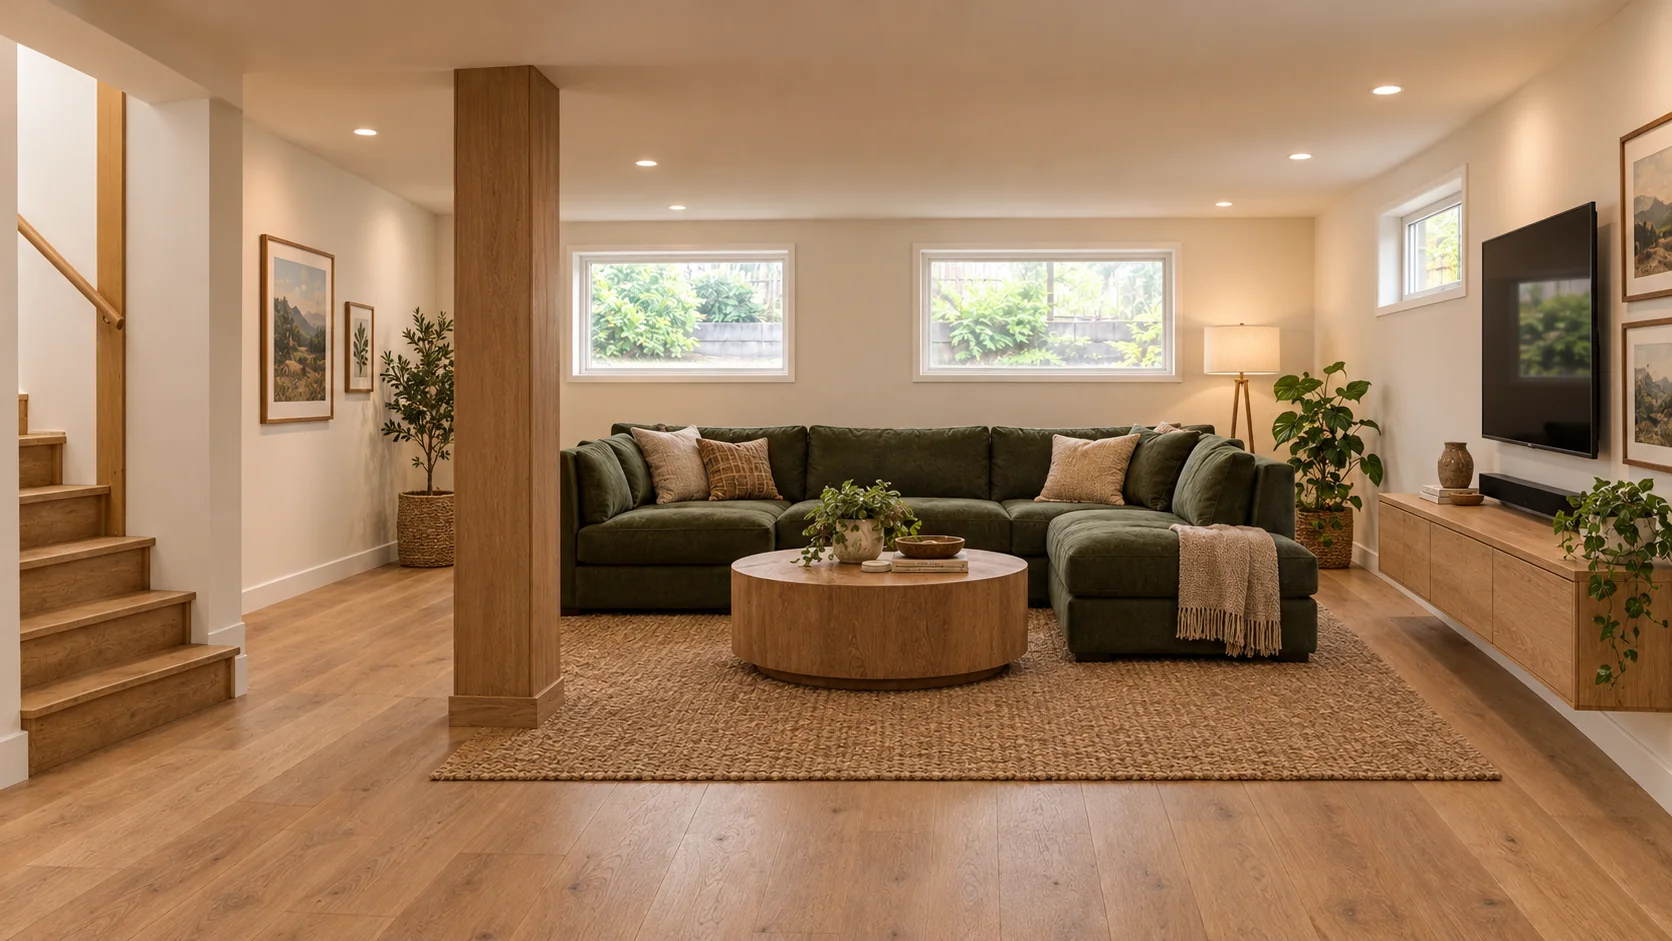
Start with the room you actually need
A Kenmore lower level can be planned as a focused office or an additional living zone, but the best layout is one that fits the existing access and services. Establish which parts of the basement should remain storage or utility space before dividing it into finished rooms. Then identify any damp conditions that could undermine the proposed finishes.
A basement office that works day to day
An office near the stair landing may be convenient but less private. Compare a door-separated desk room with an open arrangement and make space for cables, storage and task lighting without narrowing circulation.
A living room or proposed guest space
A family room needs usable seating space and dependable access, not just a wall-mounted screen. Treat a possible sleeping room as its own design and permitting question rather than an automatic extension of the lounge.
Waterproofing begins with the moisture question
Photograph interior symptoms and accessible outside drainage conditions. If exterior work is considered, include it in the project discussion rather than assuming a basement waterproofing proposal is limited to indoor coating. Before choosing wall panels or flooring, establish what is happening at the lower level. EPA recommends checking basement leaks and moisture before conversion to living space and correcting problems before other work begins. Its moisture guidance also distinguishes water-entry sources from indoor humidity; one generic product is not a diagnosis.
Planning and permits in Kenmore
Kenmore requires appropriate permits for regulated building alterations, occupancy changes and changes to the listed building systems. Its finish-work exemption requires existing accessible features to remain unchanged, and work in critical areas or associated buffers may not be exempt. No basement-specific approval is stated on that page.
Prepare a useful project brief
List all changes to doors, windows, walls and systems, including exterior drainage work. Note existing accessibility features and ask the city whether property-specific critical-area conditions affect the scope. Ask the reviewing authority which requirements apply to the proposed room use, including access, ceiling conditions, ventilation, emergency escape and building systems. A room that looks comfortable in a rendering is not automatically an approved bedroom, a rental unit or an accessible room. Any structural or specialist work needs an appropriately defined scope.
Agree the scope before construction
Discuss the intended room use, the existing condition, items that stay, items that change and any further investigation needed. Record who is responsible for applications, specialist work and required inspections. Scheduling, price, repair methods and warranty terms are project-specific and should be agreed in writing.
Frequently asked questions
Can waterproofing be left out of the permit discussion because it is outside?
Describe the entire scope, including exterior work. Kenmore notes that critical areas and buffers can affect exemptions, and a generic finish-work exemption does not settle the status of drainage or building alterations.
Does a finished-room image prove the basement can be used for sleeping?
No. A concept image is not an approval. State the intended sleeping use and confirm the requirements for the specific address before treating a proposed guest room as an approved bedroom.
Is a specific waterproofing system included automatically?
No single repair method or warranty is promised here. The source of the observed condition, the proposed scope, access and any specialist responsibilities should be established before a method is selected.
The gallery shows AI-generated concepts of a fictional basement, not completed Alpha Lux projects, measured plans or proof of waterproofing. These examples do not establish that the same design is feasible at every property.
Basement remodeling overview · Basement moisture planning · Discuss the project
Exterior waterproofing, step by step.
How a typical exterior foundation waterproofing job is sequenced on a clean, protected site. Materials and details are specified for each house after the moisture source is diagnosed.
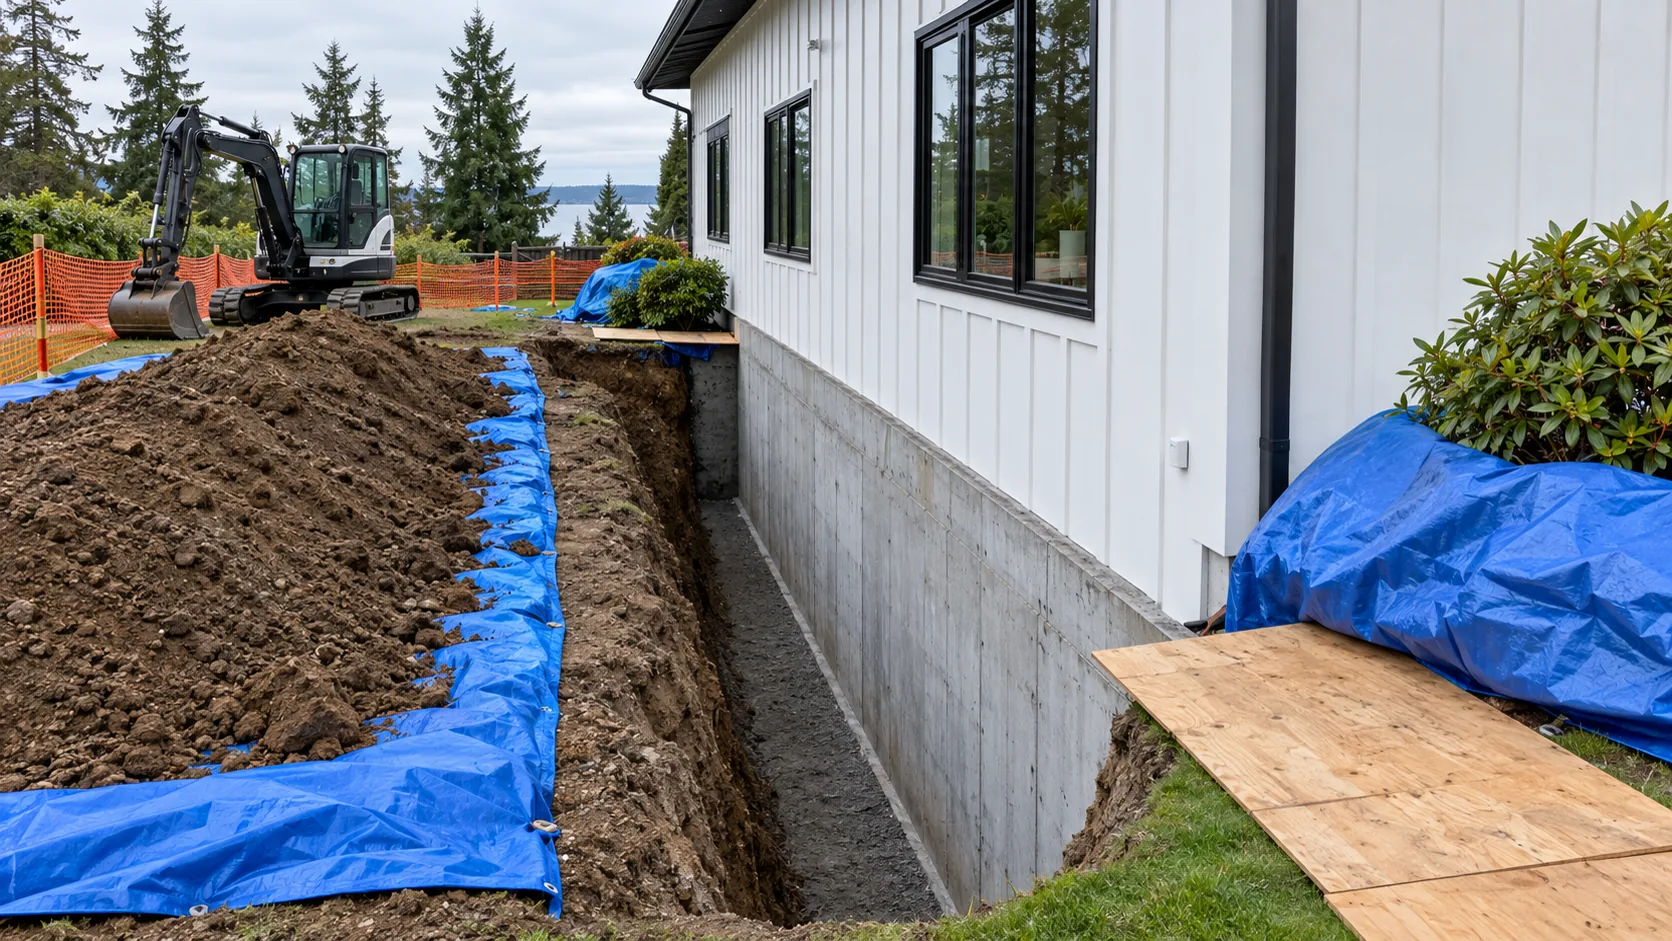
Step 1
Protect & excavate
Landscaping is protected, soil is kept on tarps, and a trench is dug down to the footing.
Step 2
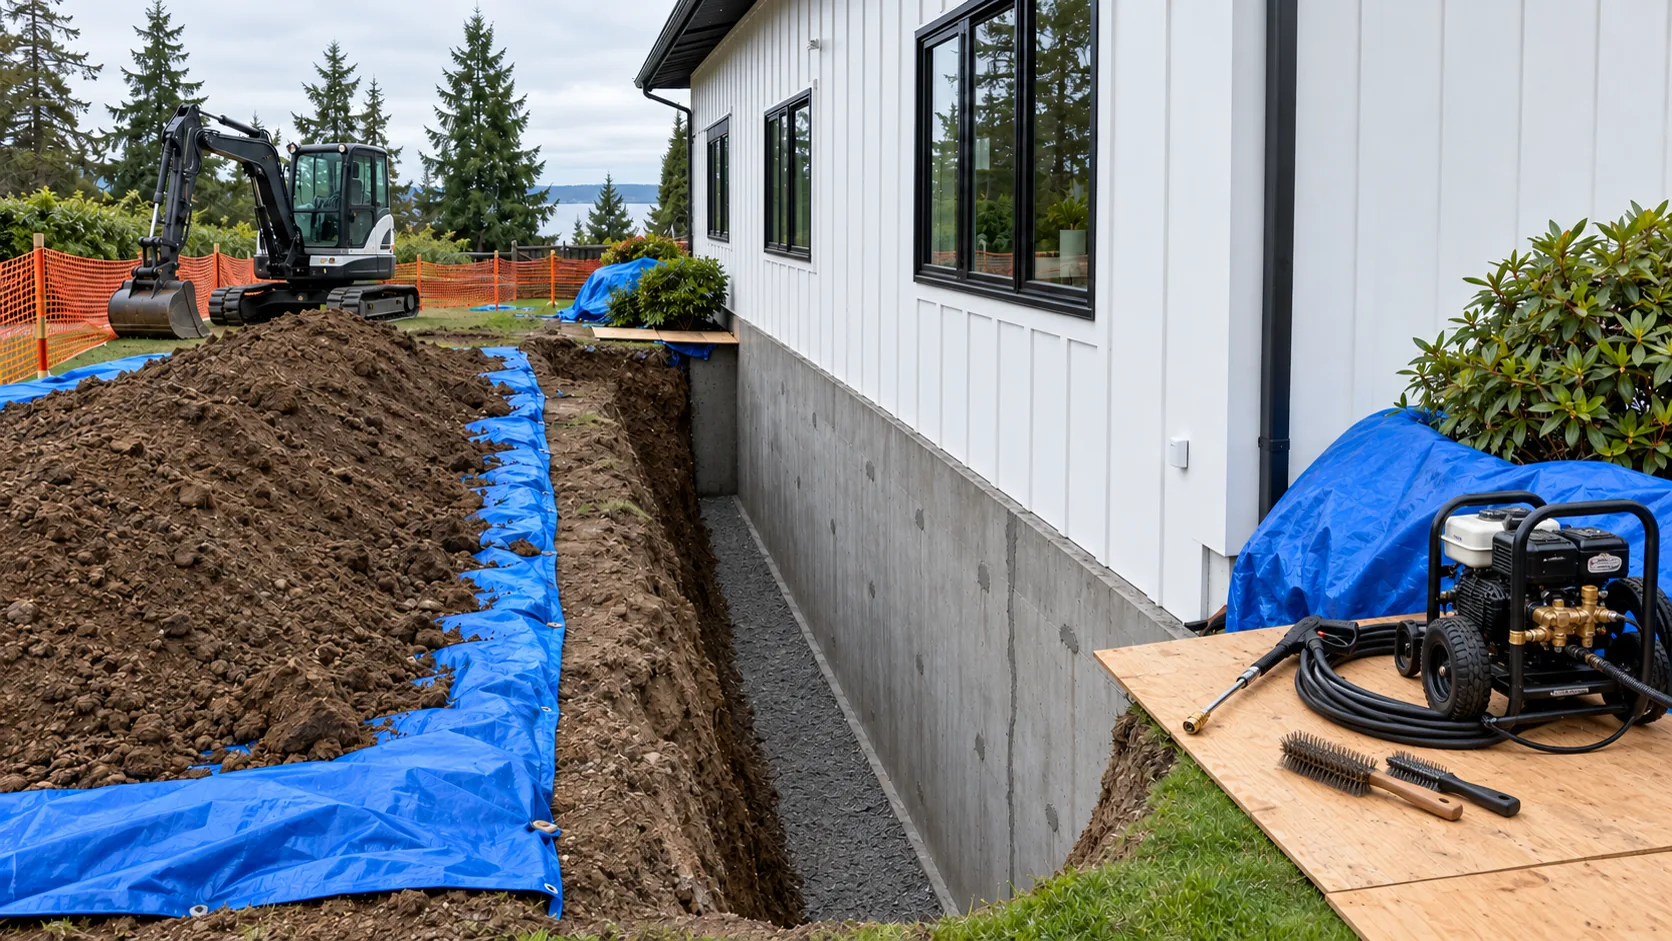
Clean & repair
The wall is washed; form-tie holes and cracks are patched so the membrane can bond.
Step 3
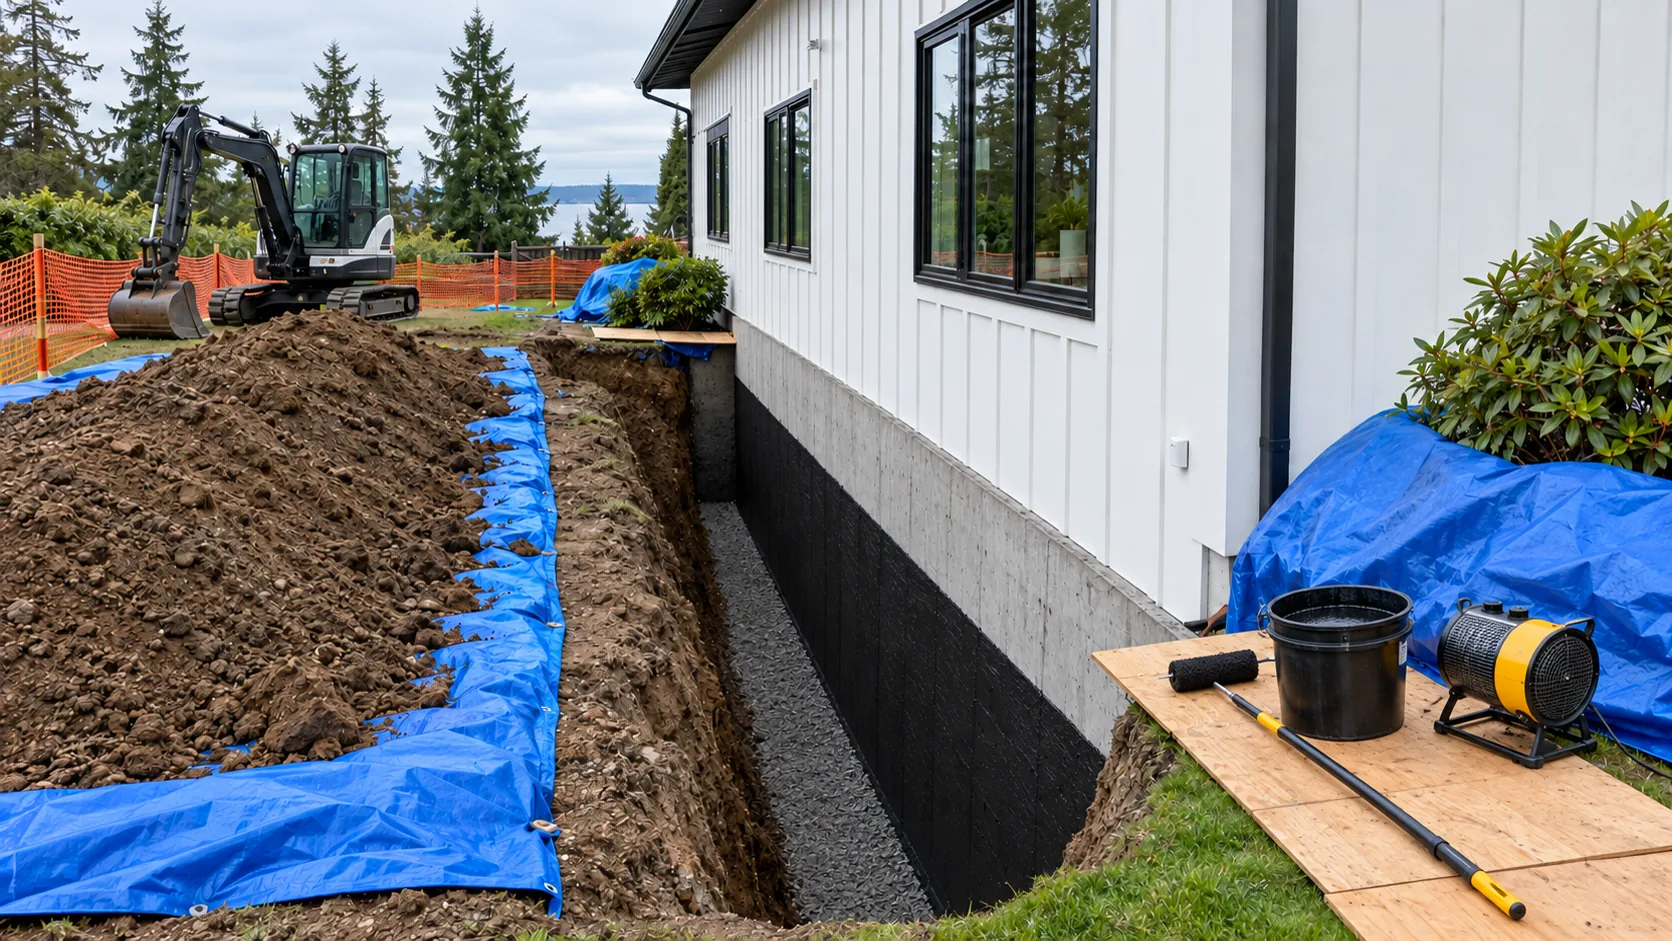
Dry & prime
The wall is allowed to dry, then a primer is applied for adhesion.
Step 4
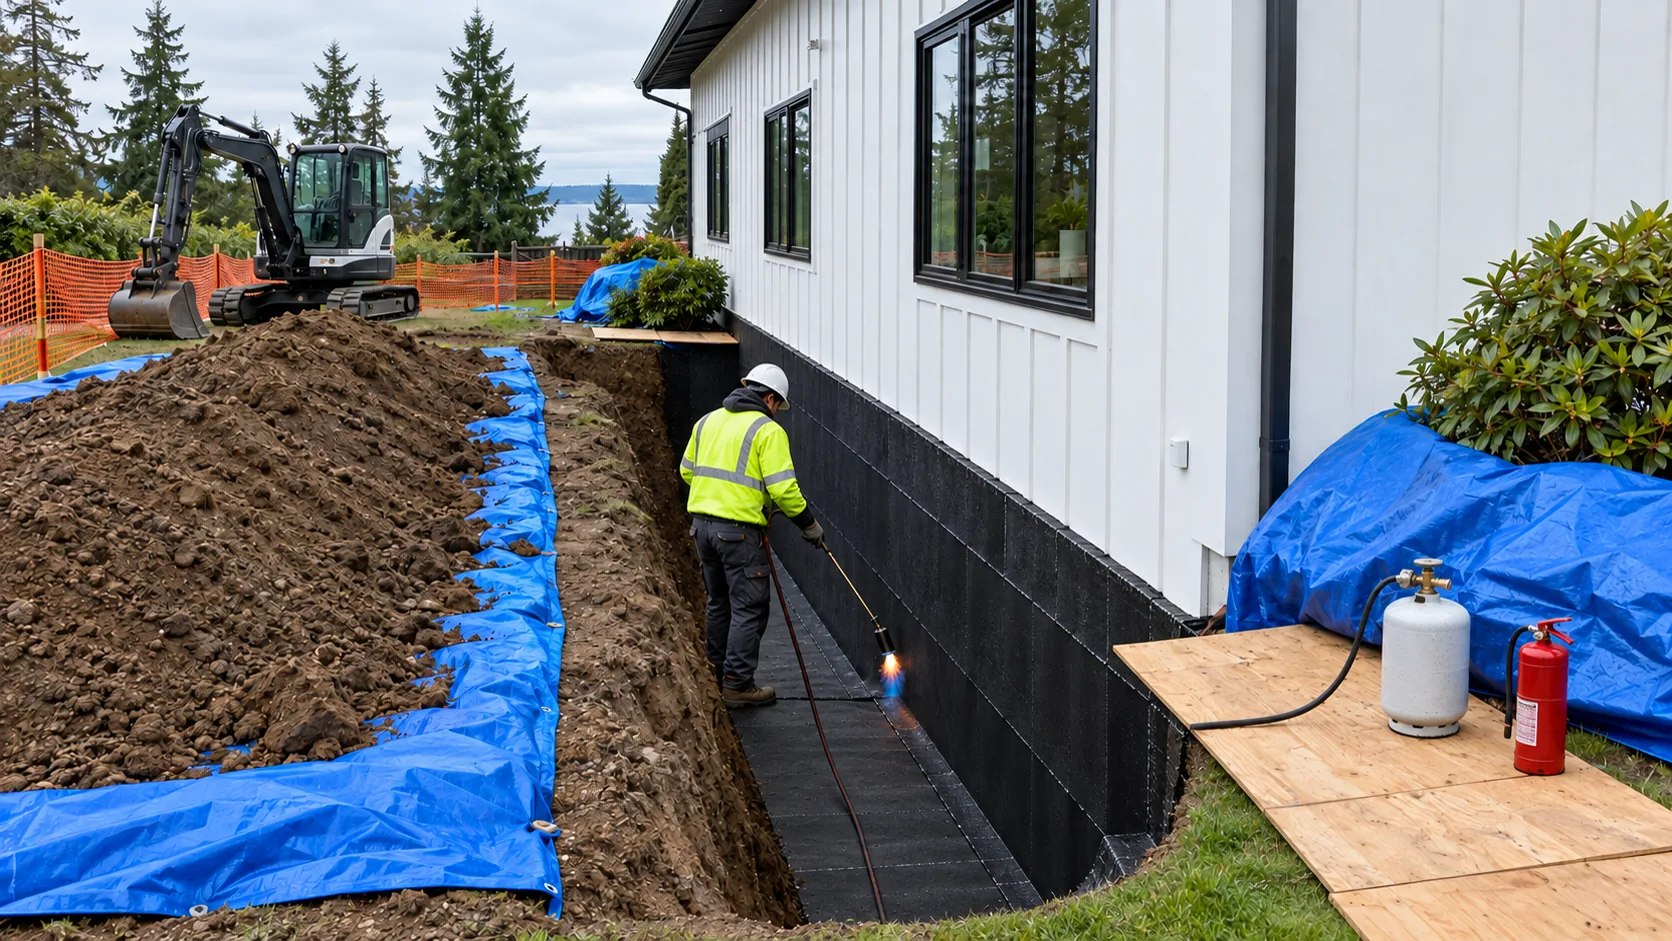
Waterproofing membrane
Membrane sheets are lapped shingle-style from the footing to grade — torch-applied, self-adhered or liquid, as specified.
Step 5
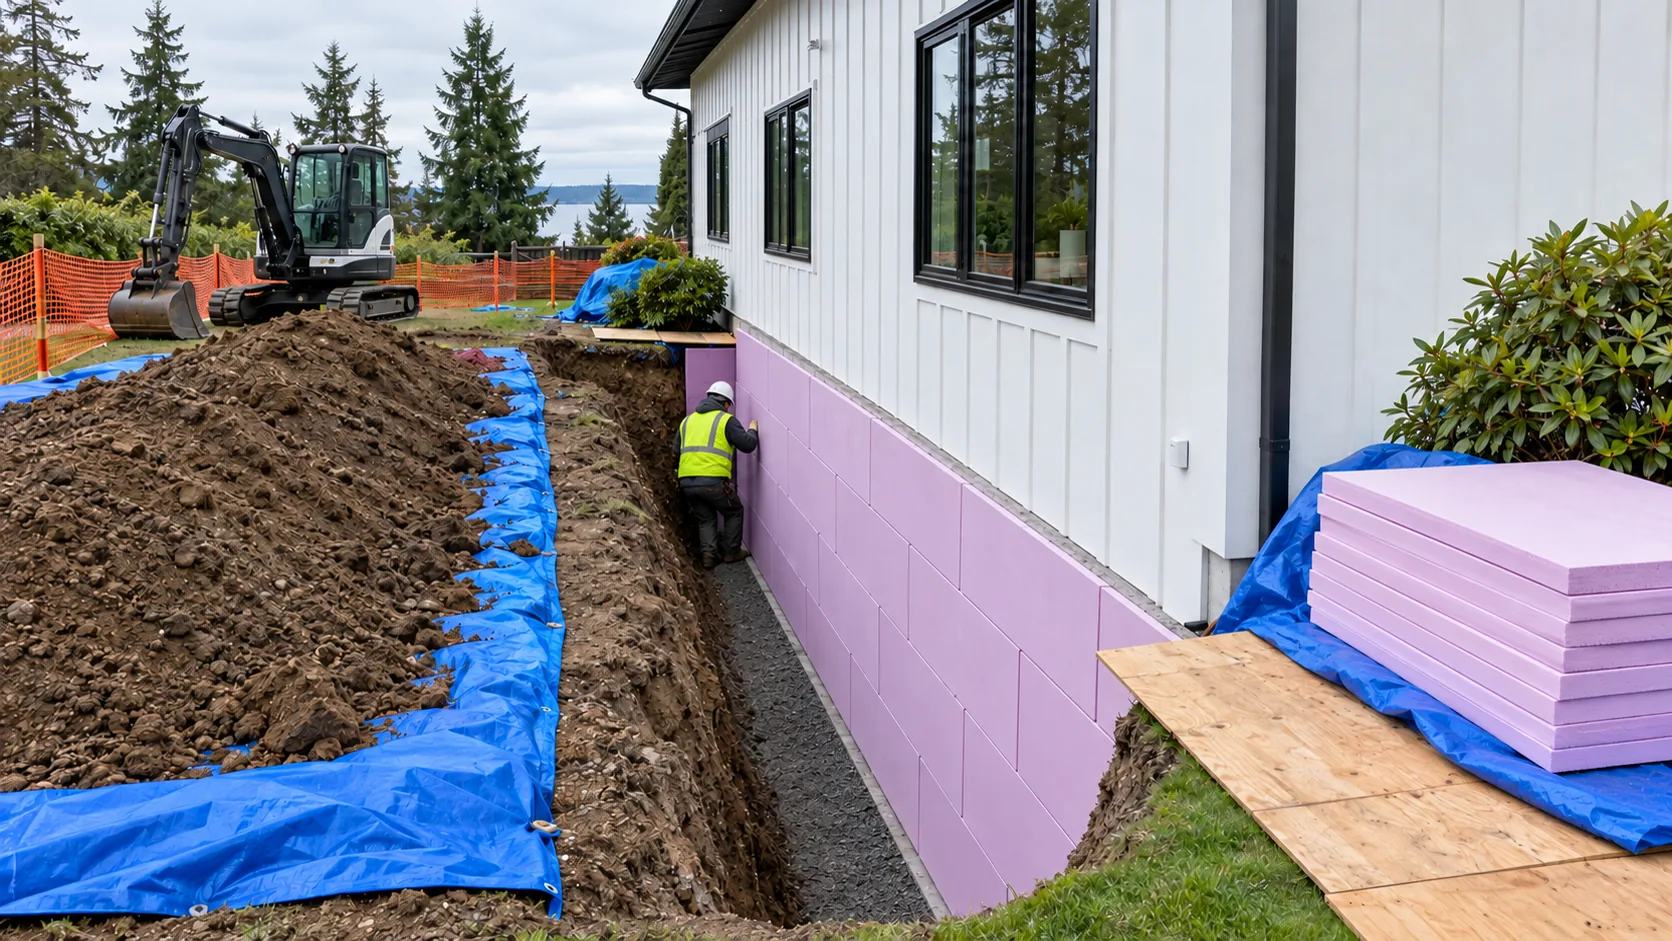
Rigid insulation
Rigid foam boards protect the membrane and keep the foundation wall warmer.
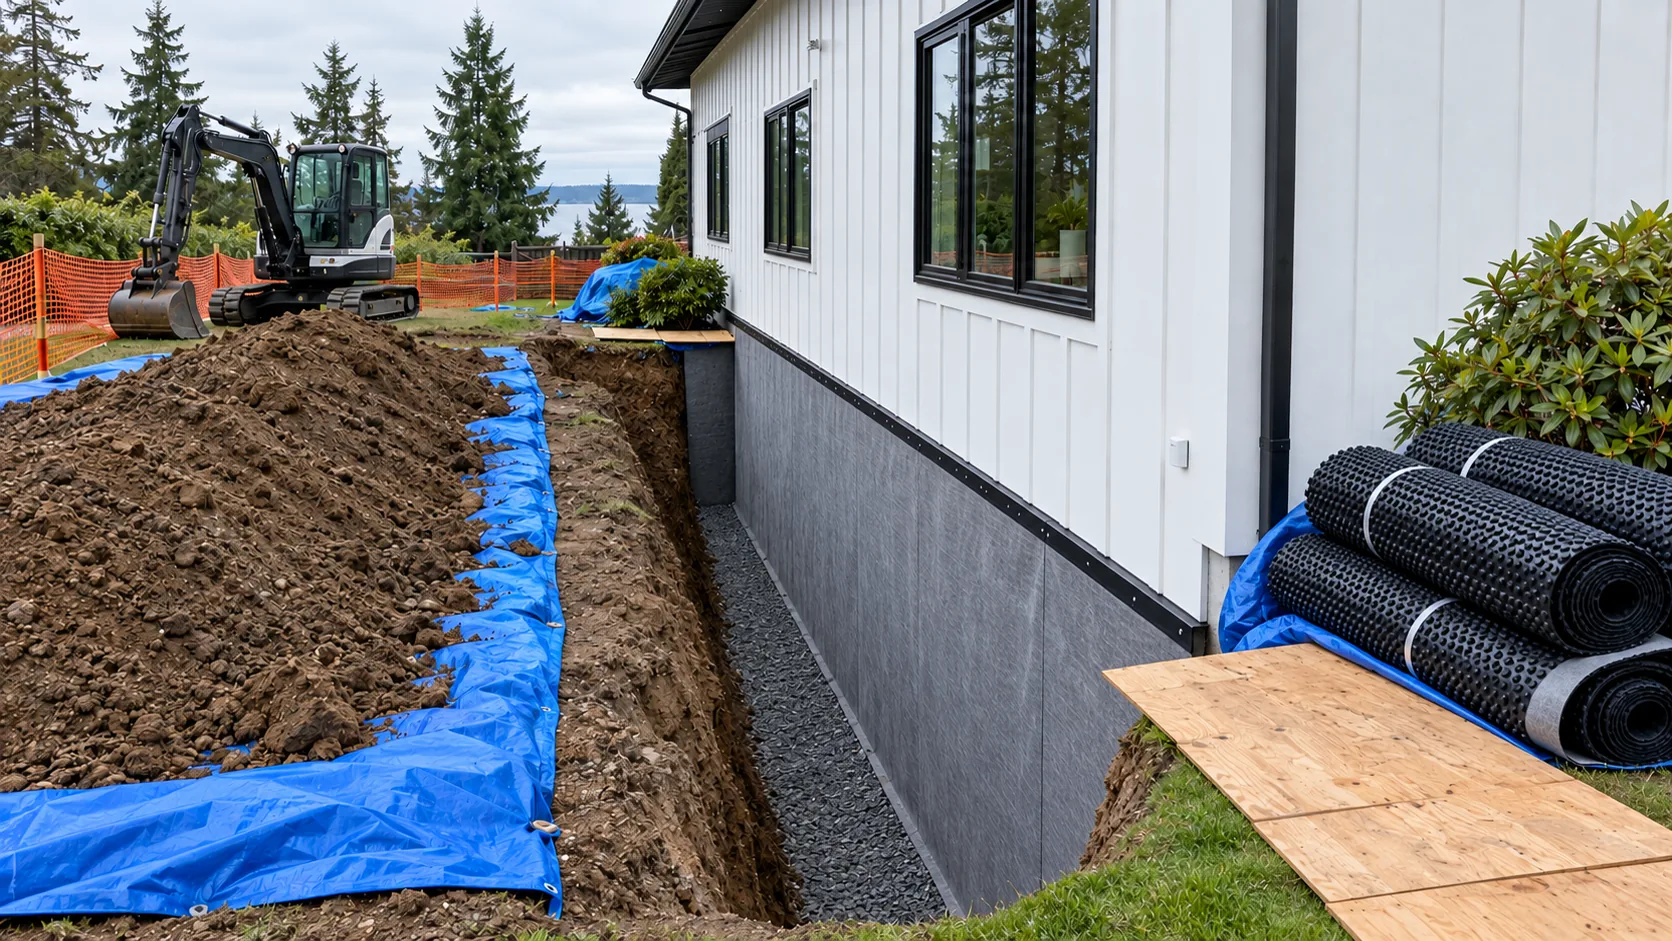
Step 6
Drainage board
A dimpled drainage mat relieves water pressure and guides water down to the drain.
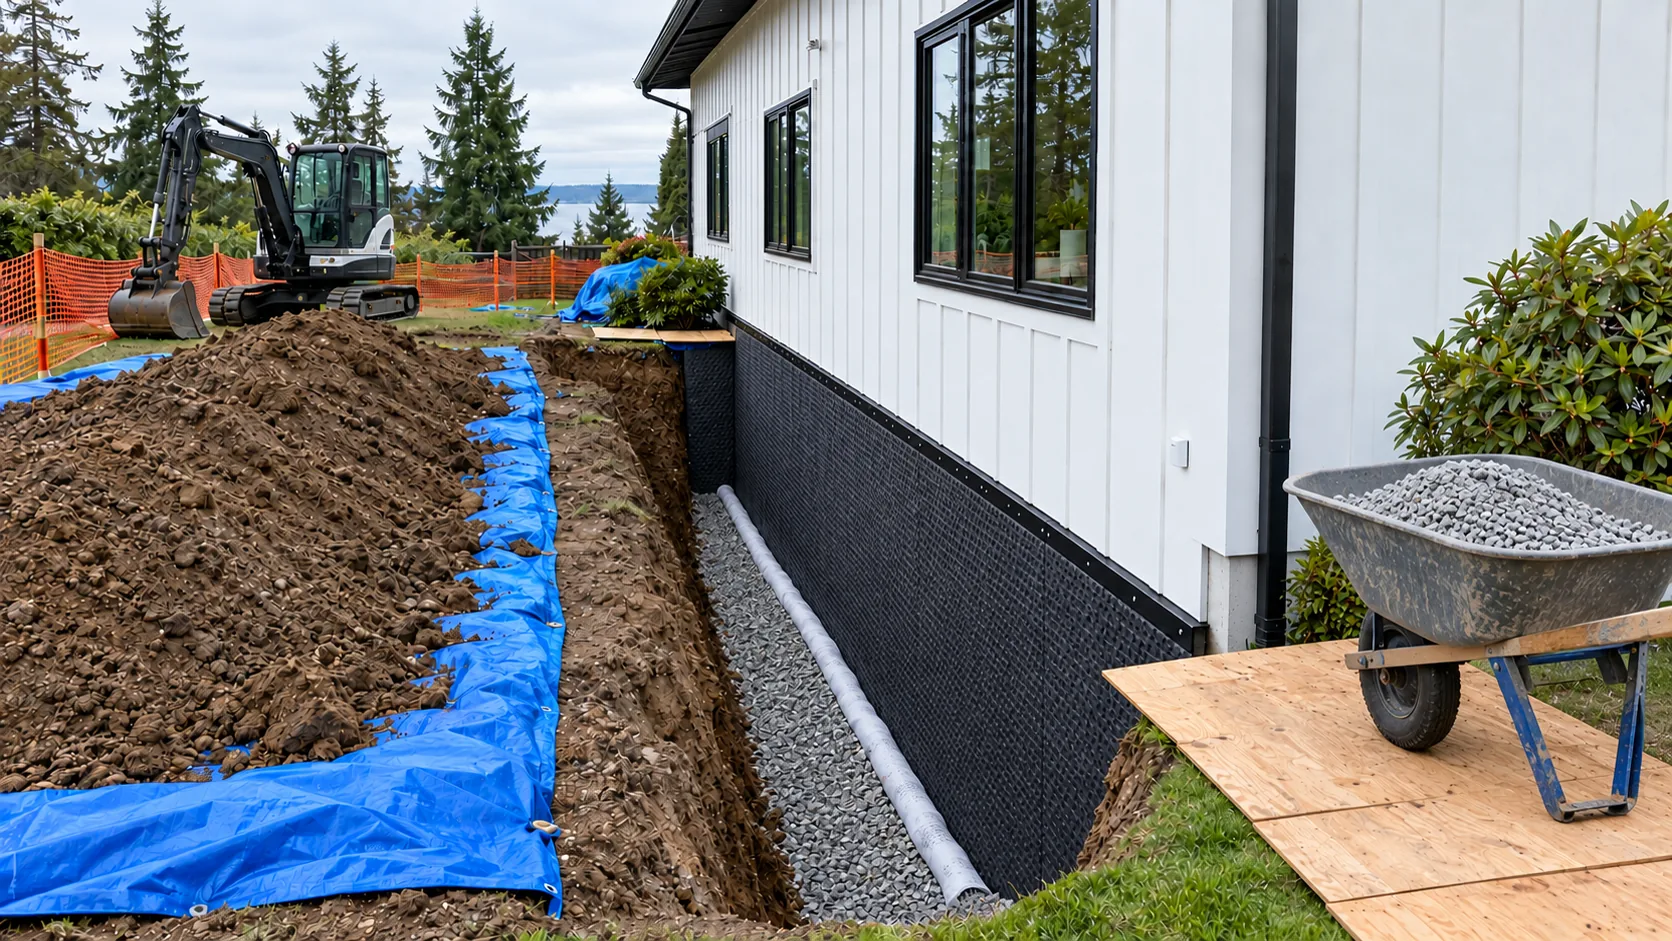
Step 7
Footing drain
Perforated pipe in washed gravel and filter fabric, sloped to a sump or daylight outlet.
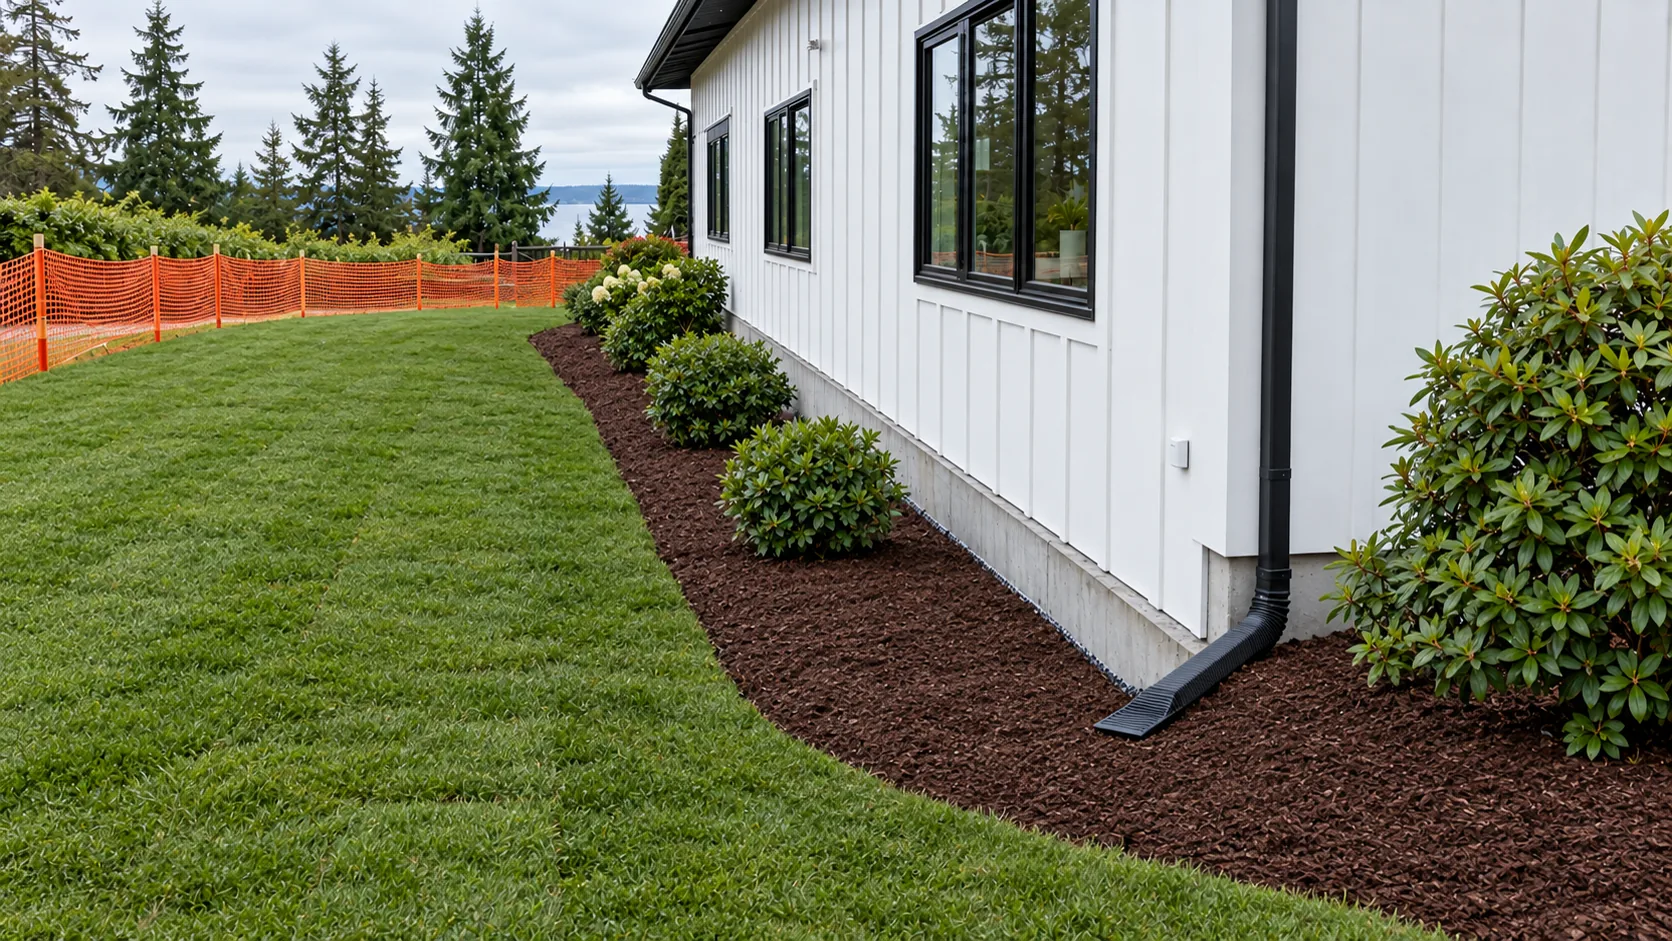
Step 8
Backfill & grade
Backfill is compacted in lifts, soil is sloped away from the house and landscaping is restored.
AI-generated illustrations of a typical sequence · Not a completed Alpha Lux project. Sources: Home Depot, Natural Resources Canada, Building Science Corporation.